REAR PACKAGE TRAY SPEAKER (for Sedan) > REMOVAL |

- HINT:
- The procedure described below is for the RH side. Use the same procedure for both the RH and LH sides, unless otherwise specified.
| 1. DISCONNECT CABLE FROM NEGATIVE BATTERY TERMINAL |
| 2. REMOVE REAR SEAT CUSHION COVER PAD SUB-ASSEMBLY |
for 60/40 Split Seat Type:
Remove the rear seat cushion cover pad sub-assembly (Click here).
for Fixed Seat Type:
Remove the rear seat cushion cover pad sub-assembly (Click here).
| 3. REMOVE REAR SEATBACK ASSEMBLY RH (for 60/40 Split Seat Type) |
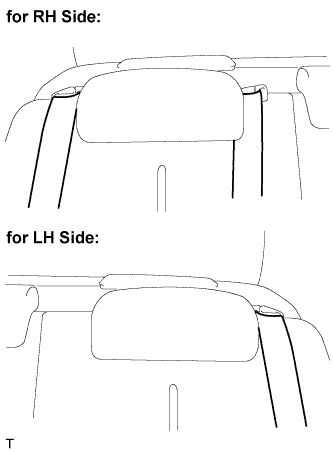
Remove the rear seat outer belt from the rear seat shoulder belt guide.
 |
Remove the rear center seat outer belt from the rear center seat shoulder belt guide.
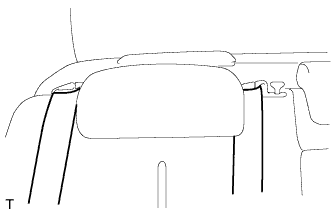
Pull the rear seatback lock release button and tilt the rear seatback forward.
Using a clip remover, remove the 2 clips and the rear seatback cover.
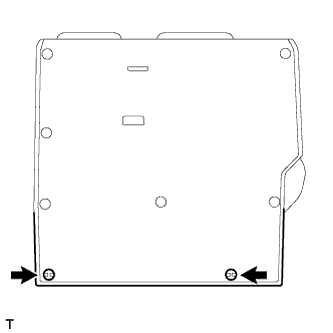 |
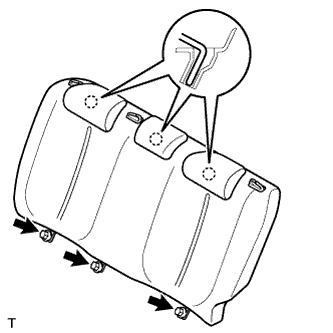
Remove the 2 bolts, the 2 hooks and the rear seatback.
 |
| 4. REMOVE REAR SEATBACK ASSEMBLY LH (for 60/40 Split Seat Type) |
Remove the rear seat outer belt from the rear seat shoulder belt guide.
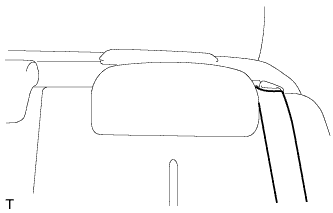 |
Pull the rear seatback lock release button and tilt the rear seatback forward.
Using a clip remover, remove the 2 clips and the rear seatback cover.
 |
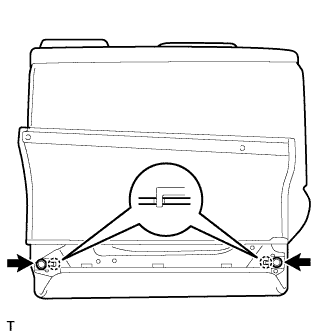
Remove the 2 bolts, the 2 hooks and the rear seatback.
 |
| 5. REMOVE REAR SEATBACK ASSEMBLY (for Fixed Seat Type) |
 |
Remove the rear seat outer belt from the rear seat shoulder belt guide.
- HINT:
- Use the same procedure for both sides.
Remove the rear center seat outer belt from the rear center seat shoulder belt guide.
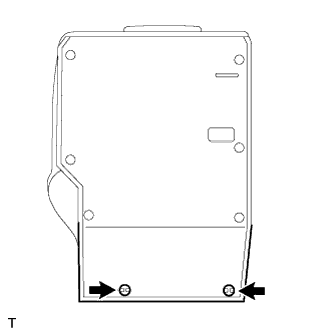
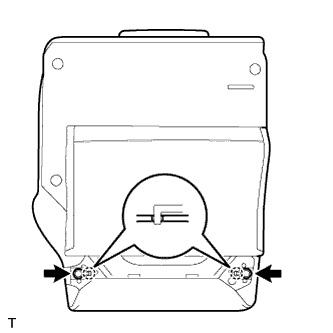
Remove the 3 bolts.
 |
Disengage the 3 hooks and remove the rear seatback.
| 6. REMOVE LUGGAGE COMPARTMENT FLOOR MAT (for 60/40 Split Seat Type) |
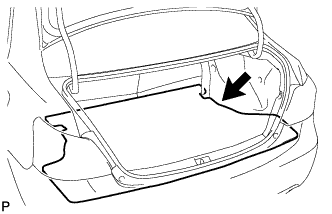 |
Remove the luggage compartment floor mat.
| 7. REMOVE SPARE WHEEL COVER ASSEMBLY (for 60/40 Split Seat Type) |
 |
Remove the spare wheel cover.
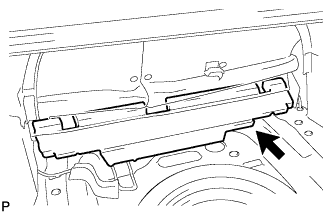
| 8. REMOVE LUGGAGE COMPARTMENT TRIM INNER PAD (for 60/40 Split Seat Type) |
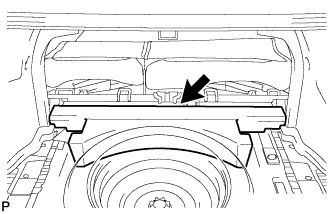 |
w/ Grand Spare Tire:
Remove the luggage compartment trim inner pad.
w/o Grand Spare Tire:
Remove the luggage compartment trim inner pad.
 |
| 9. REMOVE REAR DOOR SCUFF PLATE RH |
Disengage the 7 claws and remove the rear door scuff plate.
 |
| 10. REMOVE REAR DOOR SCUFF PLATE LH |
- HINT:
- Use the same procedure as for the RH side.
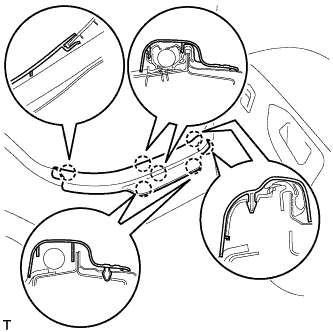
| 11. REMOVE REAR DOOR OPENING TRIM WEATHERSTRIP RH |
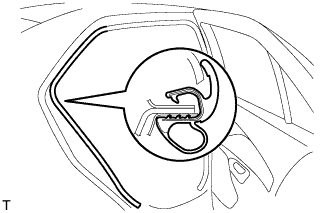 |
Remove the rear door opening trim weatherstrip to the extent that the rear seat side cover and the roof side inner garnish.
| 12. REMOVE REAR DOOR OPENING TRIM WEATHERSTRIP LH |
- HINT:
- Use the same procedure as for the RH side.
| 13. REMOVE REAR SEAT SIDE COVER RH |
Disengage the 2 clips and the 4 claws and remove the rear seat side cover.
 |
| 14. REMOVE REAR SEAT SIDE COVER LH |
- HINT:
- Use the same procedure as for the RH side.
| 15. REMOVE ROOF SIDE INNER GARNISH RH |
Disengage the 4 clips and the claw and remove the roof side inner garnish.
 |
| 16. REMOVE ROOF SIDE INNER GARNISH LH |
- HINT:
- Use the same procedure as for the RH side.
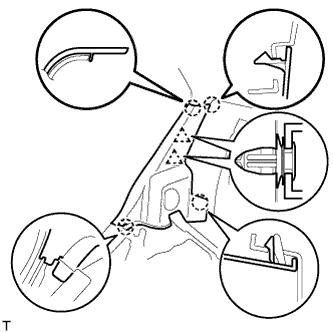
| 17. REMOVE HIGH MOUNTED STOP LIGHT ASSEMBLY (w/o Rear Spoiler) |
Disengage the 2 claws.
 |
Disengage the 2 claws.
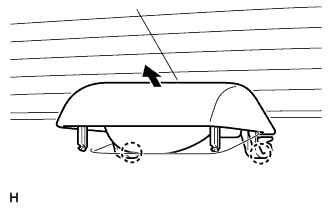 |
Disconnect the connector and remove the high mounted stop light assembly.
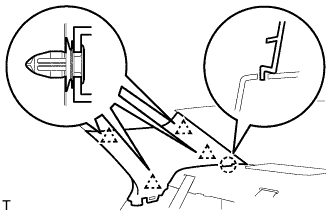
| 18. REMOVE PACKAGE TRAY TRIM PANEL ASSEMBLY |
Using a clip remover, remove the 4 clips.
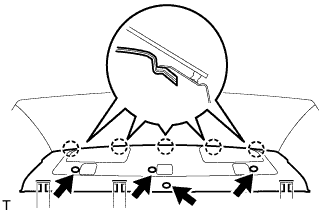 |
Disengage the 5 claws and remove the package tray trim panel.
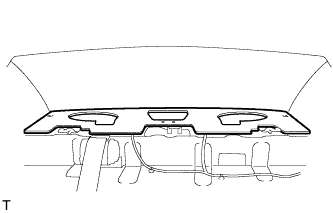
| 19. REMOVE PACKAGE TRAY TRIM PAD |
Remove the pack age tray trim pad.
 |
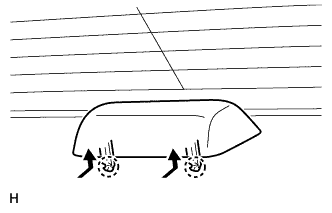
| 20. REMOVE REAR SPEAKER ASSEMBLY |
Disconnect the speaker connector.
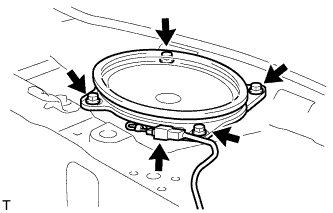 |
Remove the 4 bolts and the rear speaker.