ECM > INSTALLATION |

for Preparation Click here
| 1. INSTALL ECM |
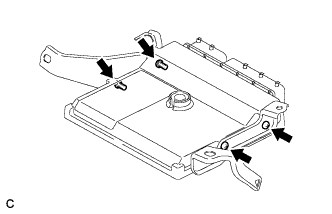
Install the 2 ECM brackets onto the ECM with the 4 screws.
- Torque:
- 8.8 N*m{ 90 kgf*cm , 78 in.*lbf }
 |
Install the ECM with the 3 bolts.
- Torque:
- 8.0 N*m{ 82 kgf*cm , 71 in.*lbf }
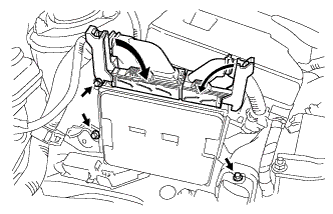 |
Connect the 2 ECM connectors.
Connect the 2 ECM connectors and lower the 2 levers.
- NOTICE:
- When connecting the connectors, make sure that dirt, water or other foreign matter does not get caught between the connectors and other parts.
- Make sure that the 2 levers are securely locked.
Install the wire harness clamp.
 |
| 2. INSTALL AIR CLEANER CASE SUB-ASSEMBLY |
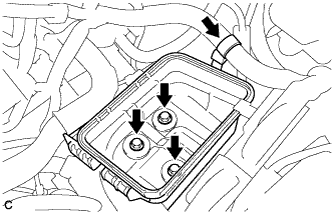
Install the air cleaner case with the 3 bolts.
- Torque:
- 7.0 N*m{ 71 kgf*cm , 62 in.*lbf }
 |
Install the wire harness clamp to the air cleaner case.
Install the air cleaner filter element.
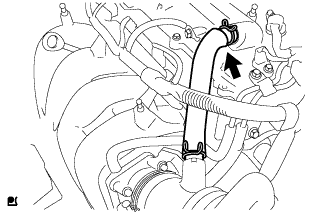
| 3. INSTALL AIR CLEANER CAP SUB-ASSEMBLY |
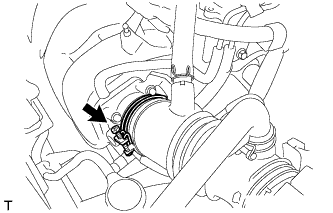
Install the air cleaner cap sub-assembly with hose with the 2 clamps.
Tighten the hose clamp to the specified torque.
- Torque:
- 2.0 N*m{ 20 kgf*cm , 18 in.*lbf }
 |
Connect the ventilation hose.
 |
Connect the 2 wire harness clamps and mass air flow meter connector.
 |
| 4. CONNECT CABLE TO NEGATIVE BATTERY TERMINAL |
Connect the cable to the negative battery terminal.
- Torque:
- 5.4 N*m{ 55 kgf*cm , 48 in.*lbf }
| 5. PERFORM INITIALIZATION |