STEREO JACK ADAPTER ASSEMBLY (w/ Wireless Charger) > REMOVAL |

for Preparation Click here
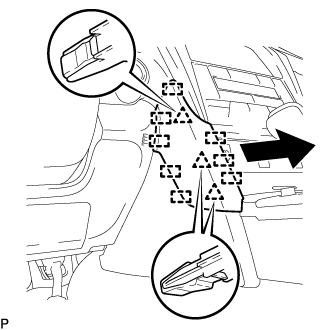
| 1. REMOVE FRONT PANEL GARNISH LH |
Disengage the 3 clips and 8 guides to remove the front panel garnish LH as shown in the illustration.
 |
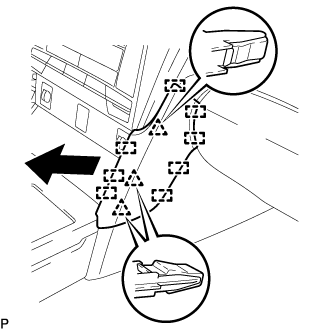
| 2. REMOVE FRONT PANEL GARNISH RH |
Disengage the 3 clips and 8 guides to remove the front panel garnish RH.
 |
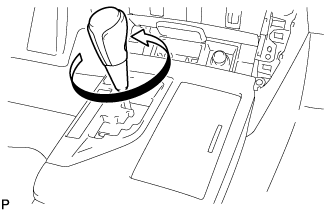
| 3. REMOVE SHIFT LEVER KNOB SUB-ASSEMBLY |
Turn the shift lever knob sub-assembly counterclockwise and remove the shift lever knob sub-assembly.
 |
| 4. REMOVE REAR CONSOLE UPPER PANEL SUB-ASSEMBLY |
Move the shift lever to N.
Disengage the 6 clips as shown in the illustration.

Disconnect each connector to remove the rear console upper panel sub-assembly.
| 5. REMOVE FRONT CONSOLE UPPER PANEL GARNISH |
for Blank Type:
Disengage the 2 claws and remove the front console upper panel garnish as shown in the illustration.
for 3 Switch Hole Type:
Disengage the 2 claws as shown in the illustration.
Disconnect the each connector to remove the front console upper panel garnish.
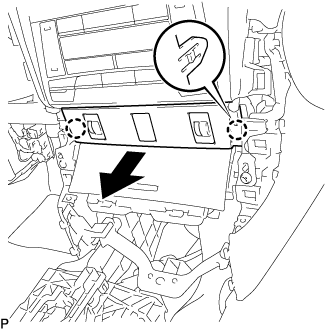
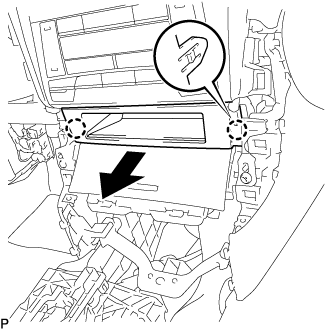
| 6. REMOVE FRONT ASH RECEPTACLE ASSEMBLY |
Remove the 2 screws <C>.
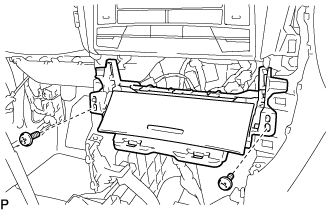 |
Disengage the 2 clips as shown in the illustration.
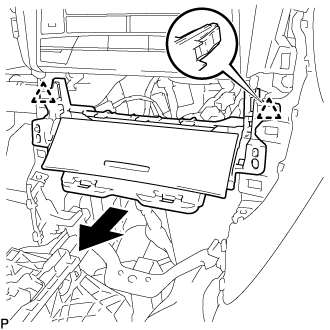 |
Disconnect each connector to remove the front ash receptacle assembly.
| 7. REMOVE NO. 1 STEREO JACK ADAPTER ASSEMBLY |
Disengage the 2 claws to remove the No. 1 stereo jack adapter assembly.
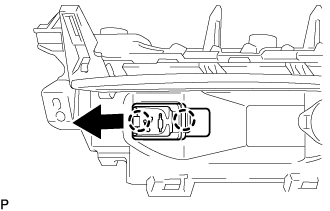 |